Making Load Charts Easier to Understand
Crane load charts can look more complicated than they need to. On a busy site, it is easy to glance at the figures and assume they are only relevant to engineers or appointed persons. In practice, though, load charts are central to safe lifting. They help determine what a crane can lift, how far it can lift it, and whether the proposed setup is suitable for the job in front of you.
For contractors, site managers and anyone arranging a lift, having a basic understanding of load charts can help avoid unrealistic assumptions early on. You do not need to become a lifting specialist, but it does help to understand why one crane may be suitable for a job while another is not, even when the headline lifting capacity sounds more than enough on paper.
What Is a Crane Load Chart?
A crane load chart is a technical guide showing the safe lifting capacity of a crane under different operating conditions. Rather than giving one fixed figure, it shows how the crane’s capacity changes depending on factors such as radius, boom length and configuration.
That matters because cranes do not lift the same weight in every situation. A crane may comfortably handle a heavier load when the item is positioned close to the machine, but its safe lifting capacity can reduce sharply when that same load needs to be placed further away or higher up.
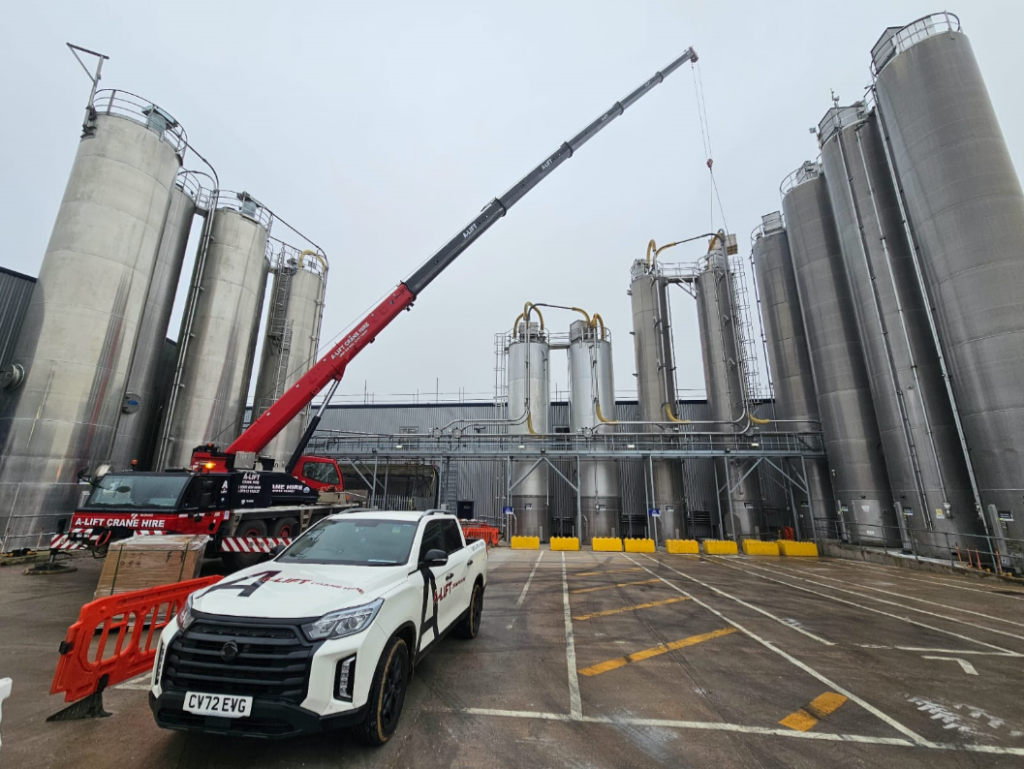
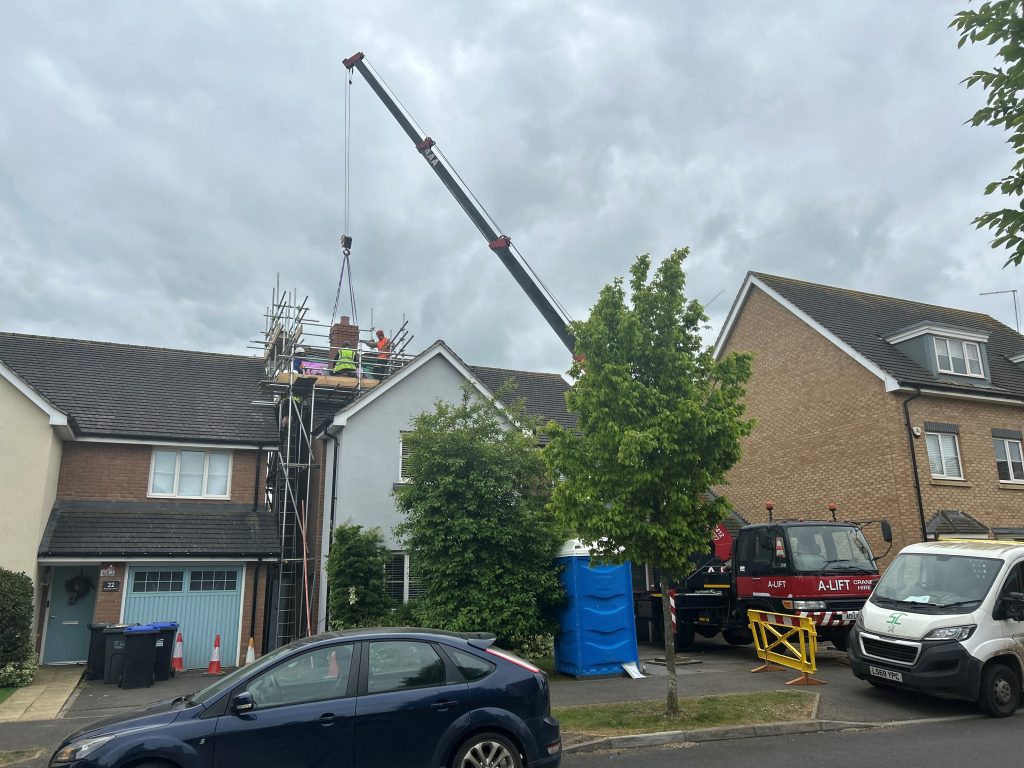
In practical terms, load charts help lifting teams assess whether a crane is suitable for jobs such as placing steelwork, lifting site cabins, moving plant equipment or positioning materials onto a roof.
 Why “Maximum Capacity” Does Not Tell the Full Story
One of the most common misunderstandings in crane hire is assuming that a crane’s advertised tonnage applies to every lift. It does not. That figure usually refers to the crane’s maximum lifting capacity under very specific conditions, often with the load close to the crane and the setup working in its favour.
Once the lift involves more reach, more height or a different boom configuration, the crane’s capacity changes. So, a crane described as a 50 tonne crane will not necessarily lift 50 tonnes across a large working radius on a live site.
The simple principle is this: the further the load is from the crane, the lower the safe lifting capacity is likely to be.
This is one reason why choosing a crane based only on its headline capacity can cause problems. It may lead to unsuitable equipment being booked, delays on site, or the lift needing to be reworked once the true requirements become clear.
The Main Things That Affect Lifting Capacity
Several factors influence what a crane can safely lift. Some are straightforward, while others depend on the site itself and the exact nature of the job.
- Radius: the horizontal distance from the centre of the crane to the load
- Boom length: how far the boom needs to extend to complete the lift
- Lift height: the higher and further the lift, the more the crane’s safe capacity may reduce
- Crane configuration: outriggers, counterweights and setup all affect capability
- Additional lifting gear: hooks, chains, slings and other accessories add weight too
- Ground conditions: the crane must be properly supported and set up on suitable ground
These details matter because even a well chosen crane can only perform safely when the conditions and configuration have been properly accounted for.
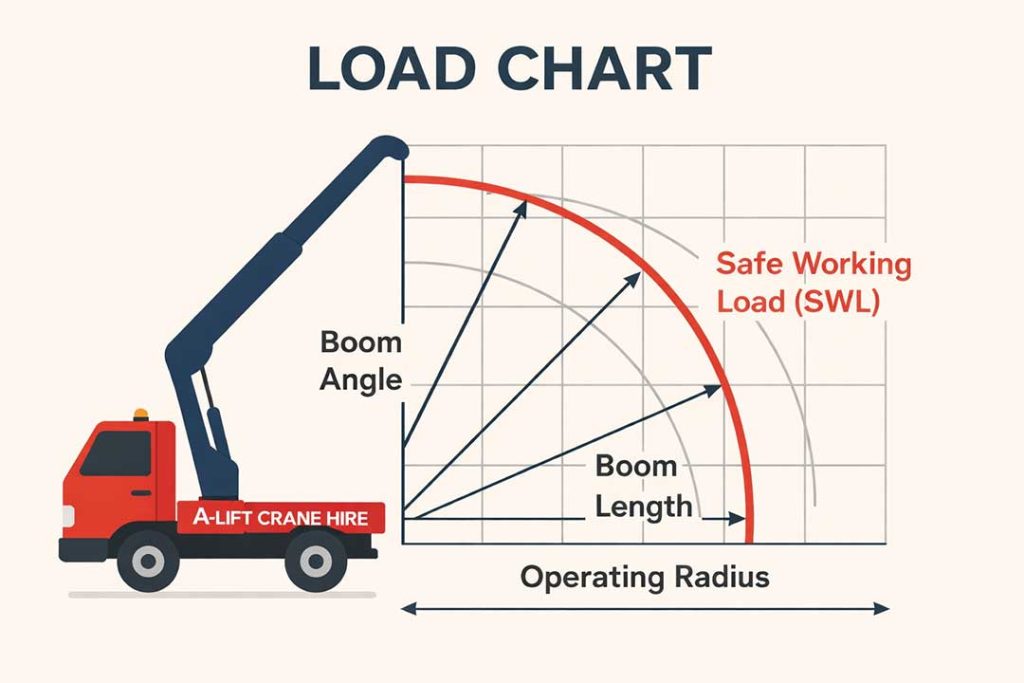
Reading a Load Chart in Plain English
While manufacturers format load charts slightly differently, most of them rely on the same core relationship between radius, boom length and lifting capacity.
In simple terms, you start by identifying how far away the load needs to be lifted from the crane. You then look at the boom length or working configuration needed to achieve that reach. The chart will then show the safe lifting capacity for that setup.
A lift close to the crane may fall comfortably within the machine’s capabilities, while the same load at a longer radius may exceed the safe limit. That does not always mean the job cannot be done, but it may mean using a different crane, changing the crane position or adjusting the lift plan.
Reading the chart is one thing. Applying it properly to a real site, where access restrictions, obstructions and available setup space all come into play, is another.
A Simple Example of How Capacity Changes
The table below gives a simplified example of how crane capacity may reduce as the working radius increases. These figures are illustrative rather than tied to one specific crane model, but they help show the principle clearly.
Even in this simplified example, the trend is clear. As the radius increases, the crane’s safe lifting capacity drops. That is why precise planning matters so much when selecting the right equipment for a lift.
Common Mistakes People Make with Load Charts
Problems often arise when a lifting job is oversimplified too early. A few assumptions that seem minor at the planning stage can make a big difference once the crane arrives on site.
- Assuming the crane’s maximum advertised tonnage applies to every lift
- Not accounting properly for the working radius
- Forgetting the extra weight of hooks, chains, slings and other lifting gear
- Overlooking site access or setup restrictions
- Trying to estimate capacity without a proper lift assessment
None of these issues are unusual, especially on projects where crane hire is only one part of a wider programme of works. Still, they are exactly the sort of details that need to be resolved before lift day rather than during it.
Why Professional Lift Planning Matters
This is where proper lift planning earns its keep. It is not simply a matter of matching a weight to a crane and hoping for the best. The full setup needs to be considered, including access, ground conditions, the position of the crane, the weight of the load, the lifting gear being used and the route the load will take.
On more involved jobs, a well prepared lift plan helps reduce uncertainty and keeps the work moving. It also gives everyone on site a clearer picture of how the lift will be carried out safely and efficiently.
How A-Lift Makes the Process Easier
Working with an experienced crane hire company removes a lot of the uncertainty from the process. At A-Lift Crane Hire, lifts are assessed based on the actual site requirements rather than assumptions made from a headline crane size.
That means considering the real working radius, the site layout, the nature of the load and the safest, most practical way to complete the lift. For contractors and site teams, that support can make planning far more straightforward and help avoid unnecessary hold ups once the job is underway.
When It Is Best to Ask for Advice
Some lifts are more straightforward than others. In many cases, it makes sense to get professional input early, particularly when the site is constrained or the lifting requirements are not completely clear.
- Restricted access or limited setup space
- Lifts involving longer reach or greater height
- Uncertain load weights or specifications
- Projects with multiple lifts or more complex sequencing
- Sites where ground conditions need careful assessment
Getting clarity at the planning stage is usually easier and more cost effective than trying to correct the setup once work has already begun.
Final Thoughts
Load charts may look technical, but the principle behind them is straightforward enough: lifting capacity changes depending on how the crane is being used. The further or higher the lift, the more important those details become.
A basic understanding helps, but safe lifting always comes back to proper planning, the right equipment and experienced input. If you are arranging an upcoming lift and want to make sure everything is assessed properly from the outset, get in touch with A-Lift Crane Hire for advice and support.